Setting up Datawise for Dynamics 365
You need to grant read/write permission to our background engine so we can read your
data and write the result back.
Grant read/write permission to our engine
You need to have Microsoft 365 Administrator privileges to perform these steps.
Create an App Registration within Entra (Active Directory)
To grant our background engine access you first need to create a Entra App
Registration. This allows the app to authenticate with Dynamics 365 using a secure and
trusted authentication mechanism.
-
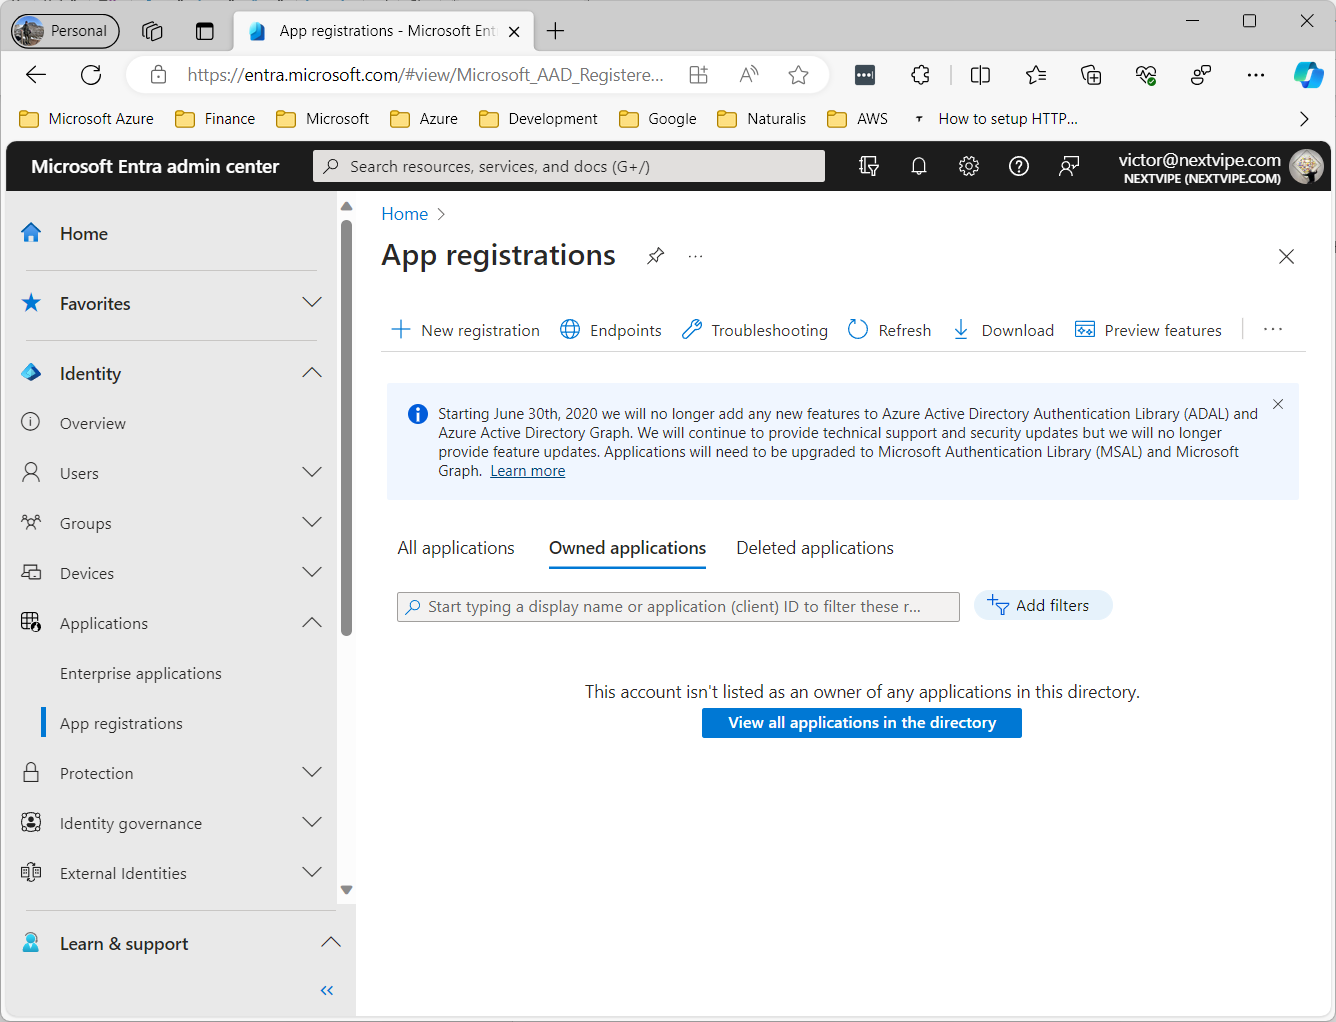
Sign into Microsoft Entra (https://entra.microsoft.com) using an account
with administrator permission. You must use an account in the same Microsoft 365
subscription (tenant) as you intend to register the app with.
- In the menu on the left select App registrations (under Applications) and click on 'New registration'.
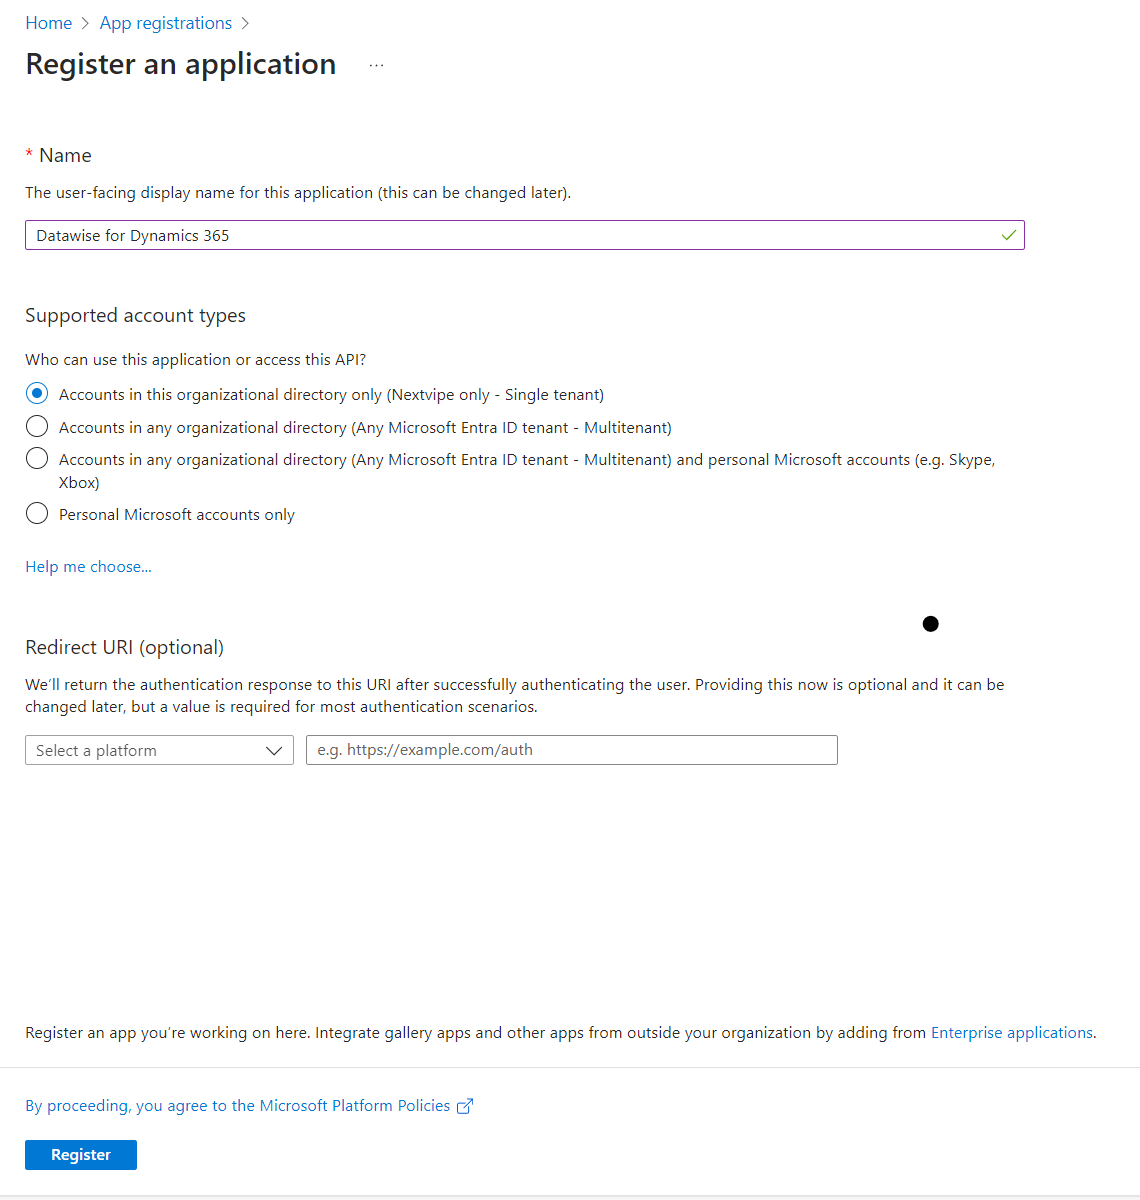
 In the Register an application page, enter the following registration information:
- Name: Datawise for Dynamics 365
- Select Accounts in any organizational directory option from
Supported account types
- Click on Register
-
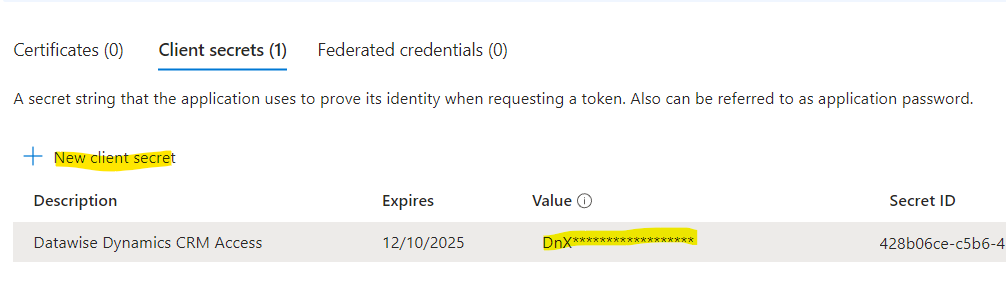
Select Certificates & Secrets tab, click on +
New client secret, fill in a description and set the expiration date to
at least 365 days. Copy the key value and save it for future use.
-
! Note that if the client secret expires, Datawise is uncapable of updating
contacts. You will have to manually send the new client secret.
-
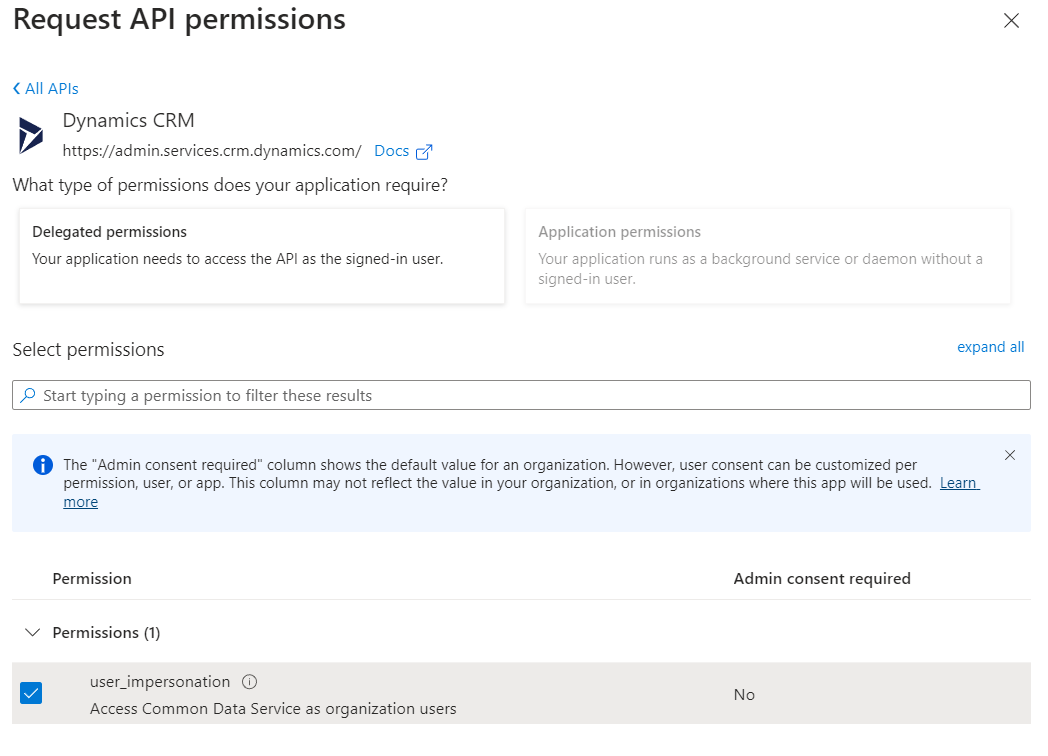
Select the API permissions tab and click
+ Add a permission to add permissions. In the
Microsoft APIs section click on Dynamics CRM. Click on
Delegated Select the user_impersonation permission
and click on
Add permissions.
-
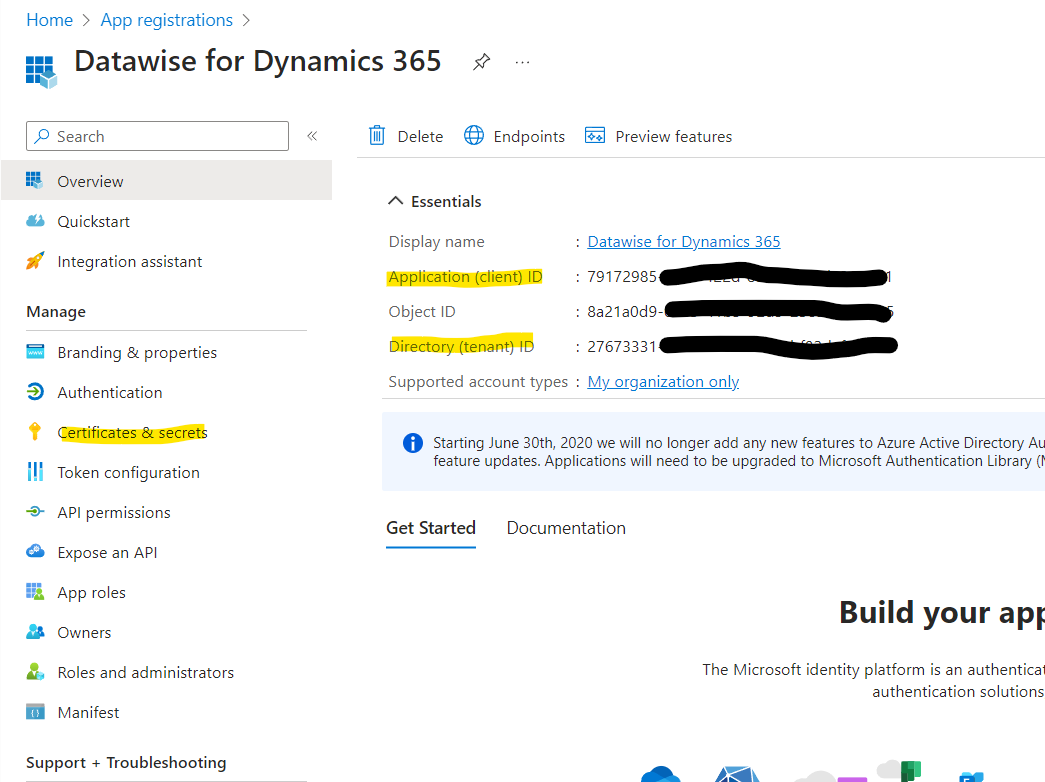
Go to the Overview tab and save the
Application (client) ID and Directory (tenant) ID
Create an application user within your Dynamics environment
-
Sign in to the
Power Platform Admin Center as
a System Administrator.
-
Select Environments, and then select the environment you installed
Datawise on from the list.
-
Select Settings from the top menu.
-
Select Users + permissions, and then select
Application users.
-
Select + New app user to open the
Create a new app user
-
Select + Add an app to choose the registered Entra application
(created in 1.1) and then select
Add.
-
The selected Entra application is displayed under
App. Under Business unit, select a business unit from
the dropdown list - this must be the business unit you wish to use Datawise on.
-
After choosing a business unit, you can select Edit. for
Security roles to choose security roles for the chosen business unit to
add to the new application user. Grant the Service Writer security role
and select
If further assistance is wished/needed, please contact
support@nextvipe.com
so that we can schedule a meeting to help you out.